Follow the steps below for an easy guide on how to assemble your SmartDesk Connect.
Table of Content
- Tools and Hardware
- Components
-
Assembly Instructions
- Prepare Hardware
- Casters
- Monitor Spine
- Center Monitor
- Speaker Wedges
- Side Monitors
- Connect and Get to Work
- Support
Tools and Hardware
-
Torx T20 Screwdriver
- Hex Key
-
8x Torx Monitor Screws

-
8x Split Lock Washers

8x Stainless Steel Washers


- Monitor Spine
-
Left Monitor

-
Center Monitor

-
Right Monitor

-
2x Speaker Wedges

-
Spine Cap

-
Power Cord
-
4x Casters (optional)
Assembly Instructions
Prepare Hardware 
-
To use your hardware correctly, insert the Torx screw into the split lock washer.
-
Slide the screw and split lock washer into the stainless steel washer.
- Repeat the process for the remaining screws.
-
Once all screws are prepared, set them aside until required.

-
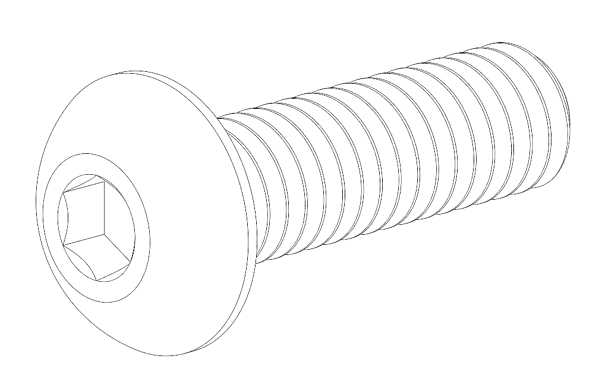
Now prepare your hex bolts by sliding them into the tooth lock washers.
-
Once all bolts are prepared, set them aside until required.
Casters 
-
Using two or more adults, lift one side of the SmartDesk off the ground. We recommend lifting from the support frame under the tabletop.
-
Screw the two casters into the leg assembly to the maximum depth.
-
Repeat the process for the opposing leg assembly.
Some adjustments may be necessary after the SmartDesk is in the desired position to level the desk properly.
Monitor Spine
-
Lift the monitor spine from the center and slide it onto the rear mounting bracket.
-
Screw in the two prepared hex bolts to both sides of the monitor spine.
-
While pulling back on the spine, screw in two additional hex bolts on the underside of the spine. This step is critical to ensure the spine does not sag.
Center Monitor 
- Slide the center monitor into the center mounting bracket.

Speaker Wedges 
- Plug the black/red cable to the rear of the speaker wedge, then rest the speaker wedge on the monitor arm.

2. Align the top of the speaker wedge to the top of the monitor, then fasten the speaker wedge to the monitor using two prepared Torx screws through the tabs shown.


Side Monitors 
- Slide the right monitor into the right mounting bracket.

2. Align the top of the right speaker wedge to the top of the right monitor, then fasten the speaker wedge to the monitor using two prepared Torx screws through the tabs shown.

3. Slide the left monitor into the left mounting bracket. Align the top of the left speaker wedge to the top of the left monitor, then fasten the speaker wedge to the monitor using two prepared Torx screws through the tabs shown.

Connect and Get to Work 
- Connect the DisplayPort and power cables for each monitor.

2. Connect the Molex cable to the underside of the tabletop.
3. Connect the three Displayport cables to the rear of the dock.
4.Attach spine cap to the monitor spine.


Support
If you aren't satisfied, need assistance, or run into any problems, Contact the SmartDesk team at support@cemtrex.com or 1-888-260-4252 (9 AM-5 PM EST).

 Back to home

